

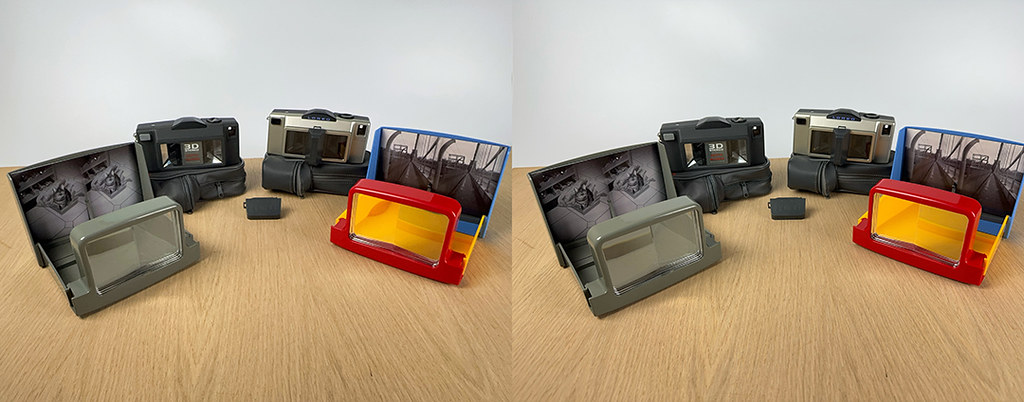
Loreo 3D Photokit analogue stereo cameras often appear on auction sites and in secondhand camera stores, and are usually inexpensive. What I was especially interested in, as it’s a stereo camera which uses mirrors, is the manufacturer stating 3-D prints can be made directly from its 35mm negative film, without any post-processing, such as transposing the images. I bought one ‘new old stock’ Loreo 3D Photokit MKII from Germany, with all its accessories, and another second-hand one from eBay. I gave them both a whirl to see how they fared in different conditions, and I’ve included plenty of photos directly from the negatives further down the post.
The Loreo 3D Photokit MKII Camera Details and Specs.
The camera kit was released in the late 1990s (now discontinued) under various names, with Loreo promoting it as:
| “A major upgrade of the popular LOREO 3D Photokit. The new LOREO Photokit MK II now has Glass Mirror Reflectors and Aspheric Lenses, which produce sharp 3D pictures. Image Pitch has been adjusted for even easier 3D fusion, particularly with 4R prints. New Mini viewers work well with images from the MKII Aspheric Lens. F-stop has been opened up to 2.5 mm diameter and the shutter adjusted from 1/90 to 1/60 sec for brighter photos under dull conditions. A new beam splitter housing eliminates internal reflection. Fans liked the first Photokit because it was a compact stereo camera where most of the optics were housed in the camera body. It was lightweight and easy to carry around. Having a 28mm lens helped compensate for having a single frame split into two images. The hugely improved MK II still has all these features, and is turning out to be even more popular. Photokit MK II pictures can be digitized. Scans can be made from prints, or directly from negatives. They can be viewed on computer screens with a Loreo Lite 3D Viewer. A high resolution LCD or CRT monitor is recommended. For best 3D effect, images should be resized so that they are not more than 8 inches across onscreen.” |
Manufacturer’s Specs:
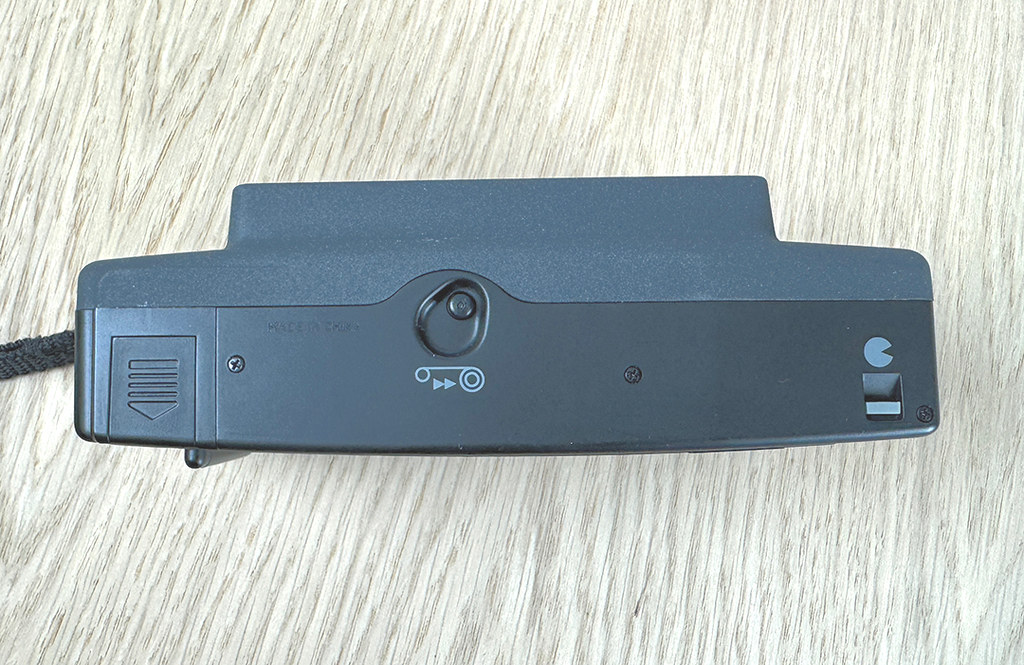
| Camera Type: Three Dimensional Stereo Camera Film Format: 35mm standard film (24x36mm) Film Plane: Curved Lens: Twin 28mm aspheric lenses Shutter: Single speed shutter 1/60s Aperture: f/11 with flash, f/18 in daylight Focusing: Pan focus range from 80cm (2.5 feet) to infinity Film Speed: ASA 200, 400 and 800 film recommended Frame counter: Progressive type with auto-reset Film advance: Manual thumb wheel film winding Film rewind: Manual rewind. Mid-roll rewind possible at any point Flash: Built in flash, manual activating system, flash most effective from 5 – 8 feet (1.5m – 2.5m). Power Source: Two 1.5V AA-type batteries (Alkaline or Manganese) Dimensions: 158 x 80 x 53 mm (W x H x D) Weight: 228g/8oz |
User manual: http://www.loreo.com/pages/manuals/manual_photokit_mkii.html
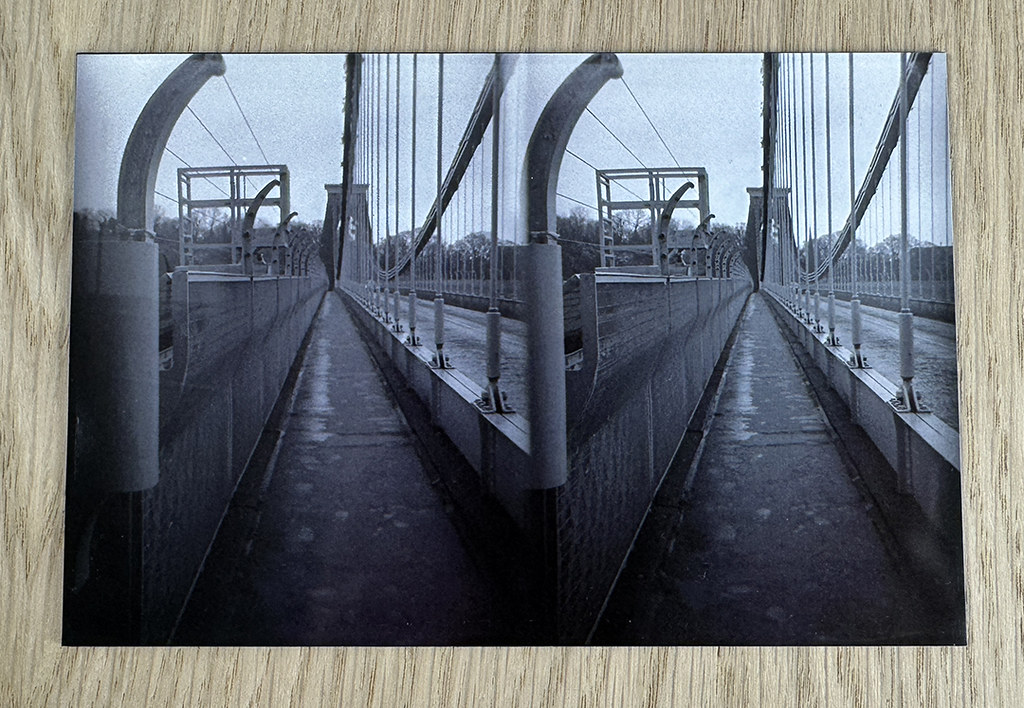
Notice in the manual the specific comment below about negatives produced by the camera, and please keep this in mind when looking at my results from the cameras. Cropping the outer edges of the stereos for prints also obviously won’t remove the overlapping in the middle of every stereo:
| A narrow, slanting black border appears on the negatives of many Photokit MKII cameras. It is caused by the unconventional curved film plane of the camera, which corrects keystone effect, but is not ideal for locking down the film. The original Photokit and Photokit MKII were designed as film and print cameras, and built within tolerances which allow for a black border. When people make prints from MKII negatives with this black border it doesn’t appear because very few photo developing shops print the entire negative. |
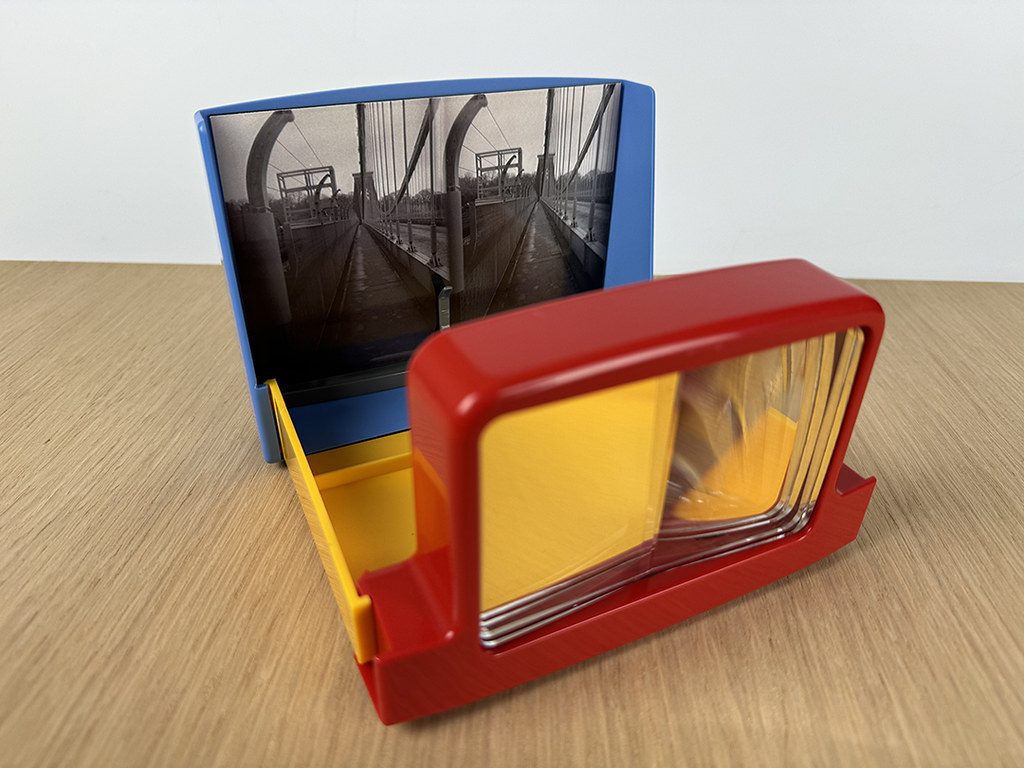
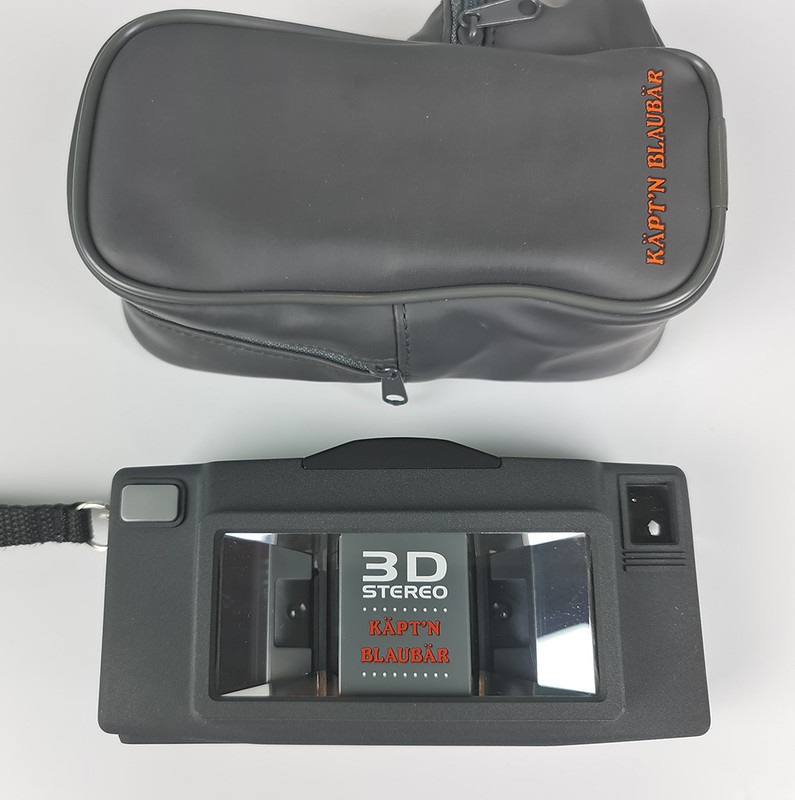
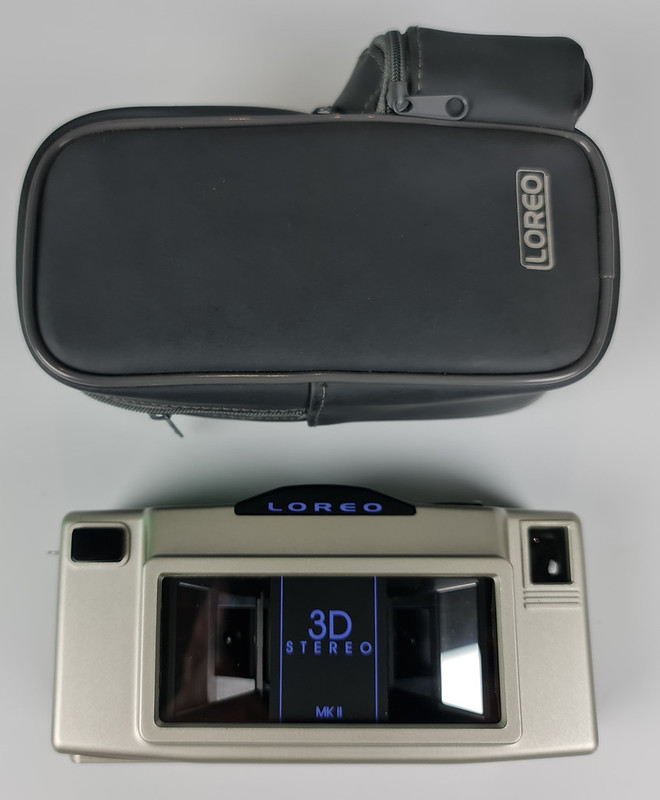
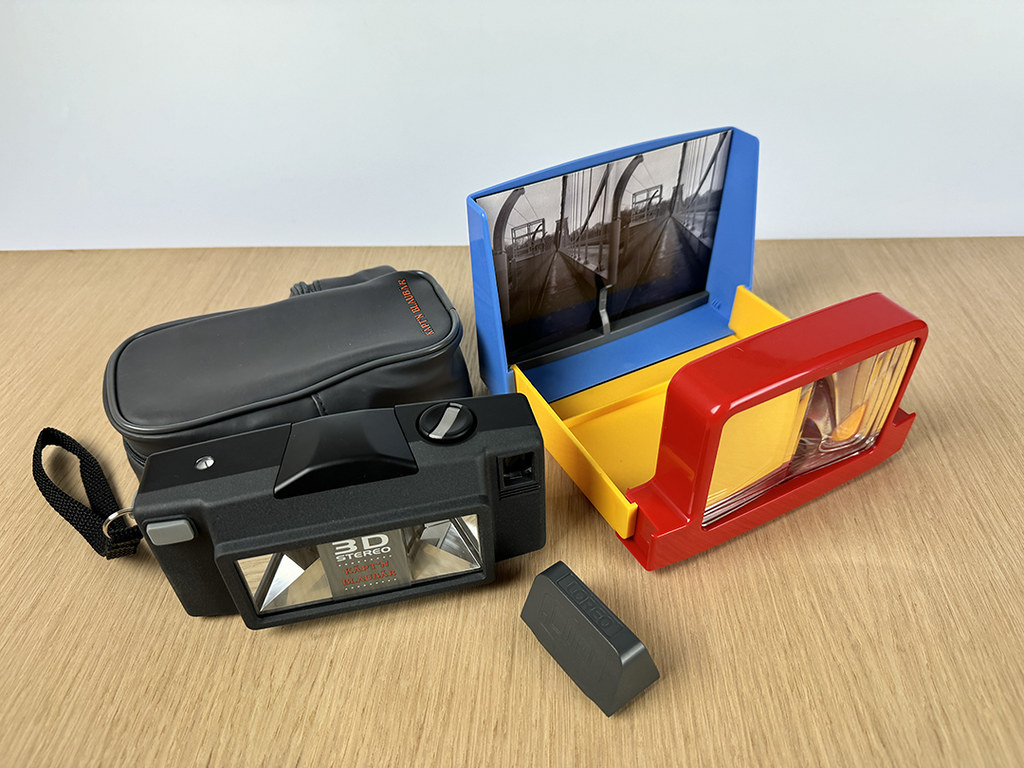
My new-old-stock camera came with a case, a lens shade and a Loreo Deluxe 3D Viewer.
The lens shade info: “To improve the contrast of your stereo prints a Lens-shade is specially designed for your LOREO stereo camera. It is attached to the front panel of the camera by a tongue and groove joint. It is particularly effective in shielding against bright light shining from either side of the camera. Without the Lens-shade this stray light could otherwise appear as ghost images on your stereo photographs.” You can see one in the foreground of the pic below. I tried using it and didn’t notice much difference, especially with reflections.
I have to say, using the camera is very straight-forward to use, with no manual settings. It’s basic, light and quite compact. You load the film, take a photo with or without the flash, wind it on, and then push a button and rewind the film when you’ve reach the end. The prints which fit the viewer are standard photo size, 6×4″ (15.2 x 10.1cm), which is larger than prints usually are, as the recommended distance between the same point on left and right stereo prints is about 6.5cm, the average human eye separation. I have to say, however, with the Loreo viewer, the format works well, but keep this format in mind if you’re using other stereoscopic viewers/stereoscopes.
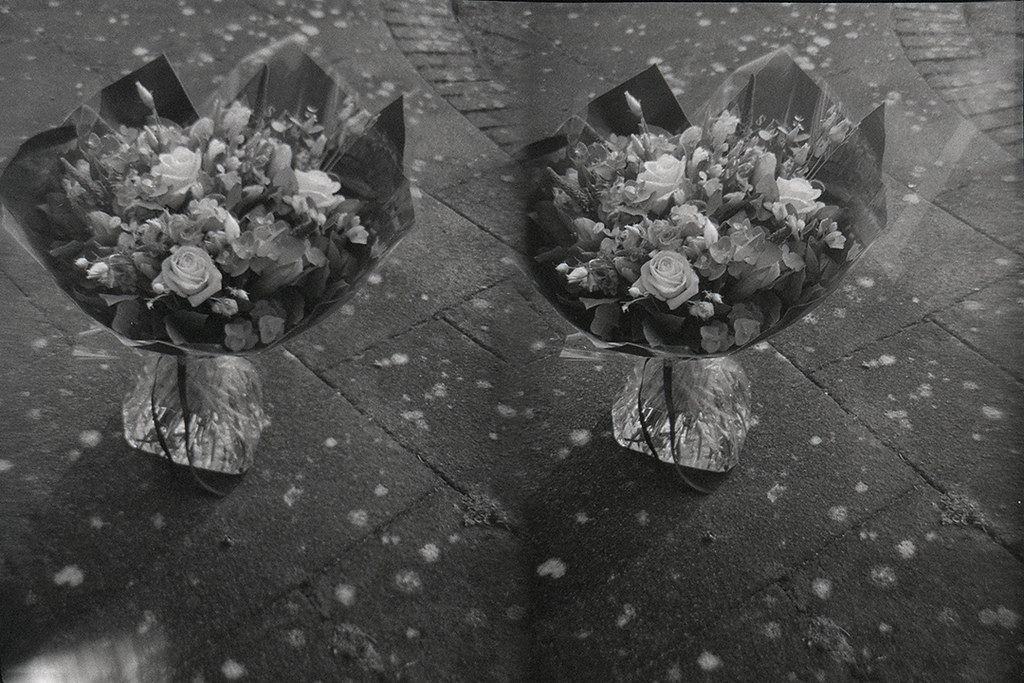
Tip: Keep in mind, especially when your subject is fairly close, that the viewfinder is on the left of the camera as you may need to compensate for this if your subject appears dead-centre (see the photo with the flowers).
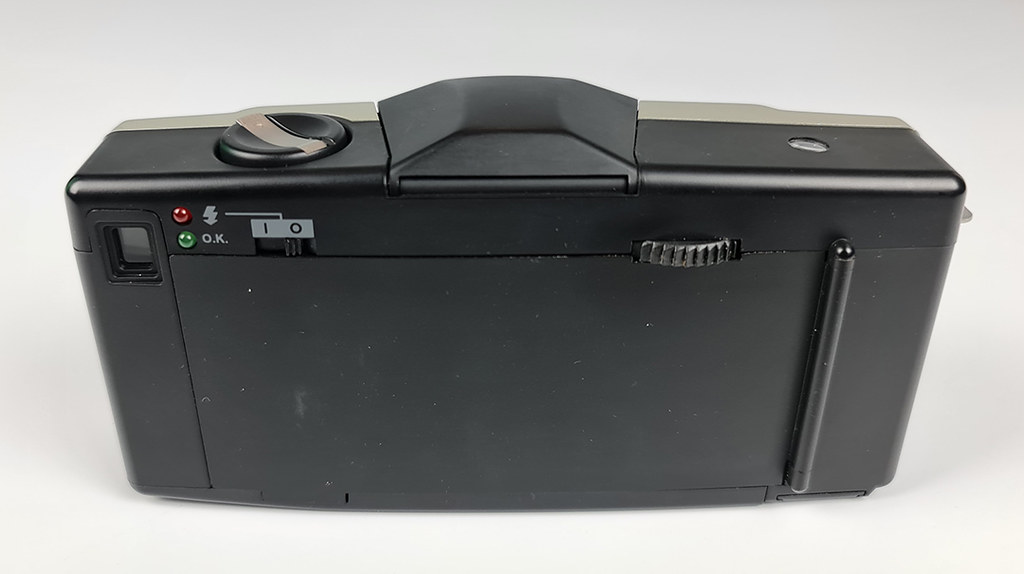
The camera’s back states ISO 200/400 film is recommended, but be very cautious with this, as you’ll see from my results. 200 ASA film with this camera needs to be shot somewhere drowning in sunlight, definitely not the UK in early Spring, but then, as you will see, you have a problem with reflections.

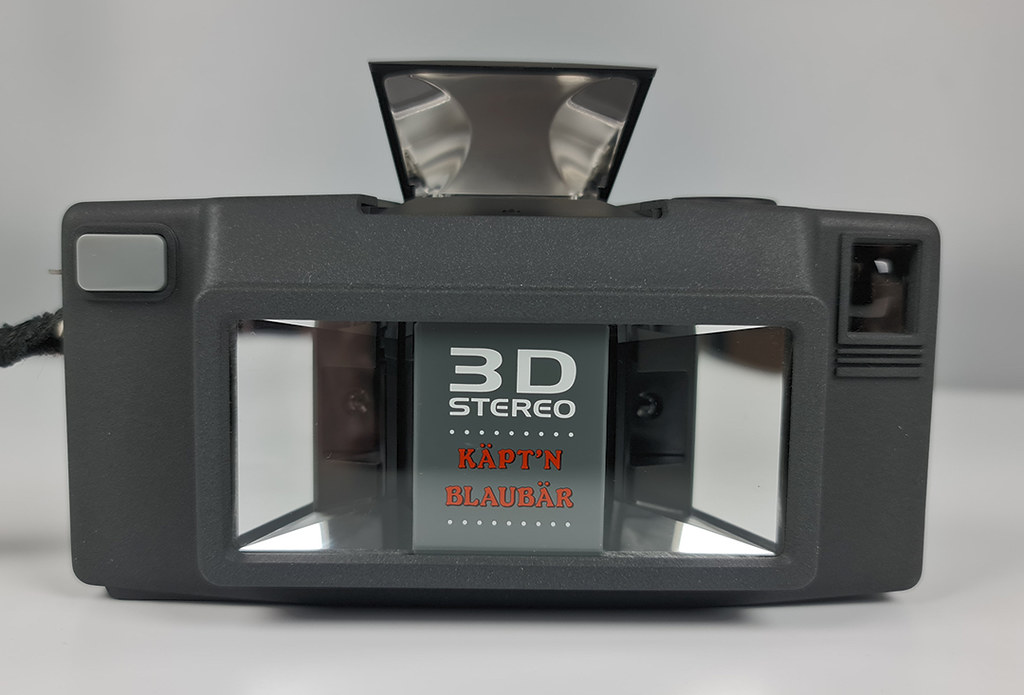
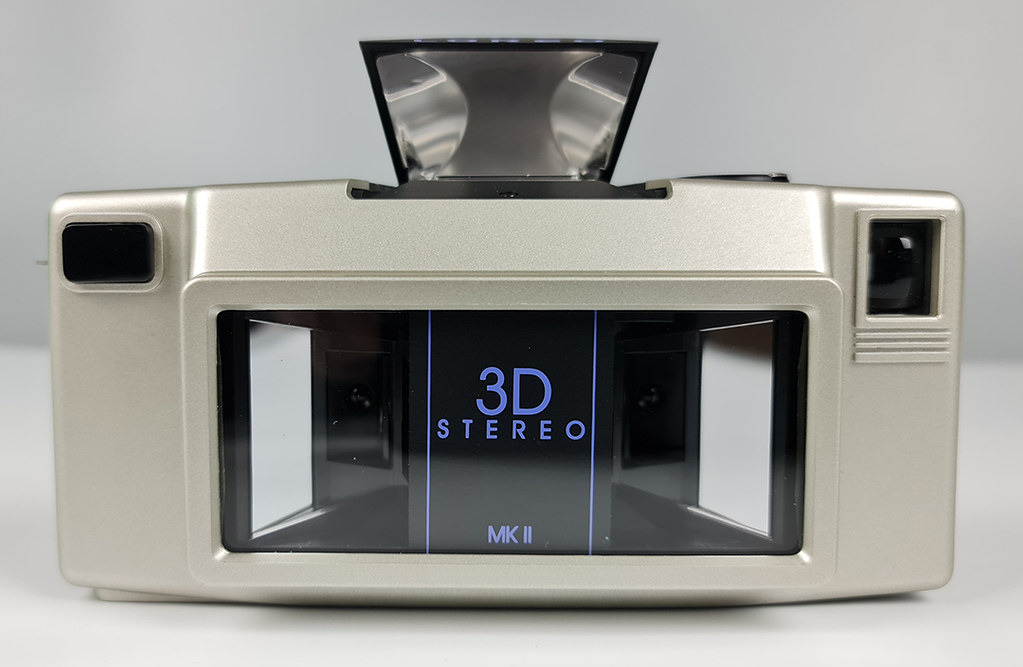
To make sure there weren’t any particular faults with my camera, I bought two (in stereo), but the Käpt’n Blaubär one will be my favourite, purely for the random branding, as they both perform the same as each other. Words carefully selected.
200 ASA Film in Different Conditions.
Conclusion: With its single shutter speed and two apertures: Don’t.
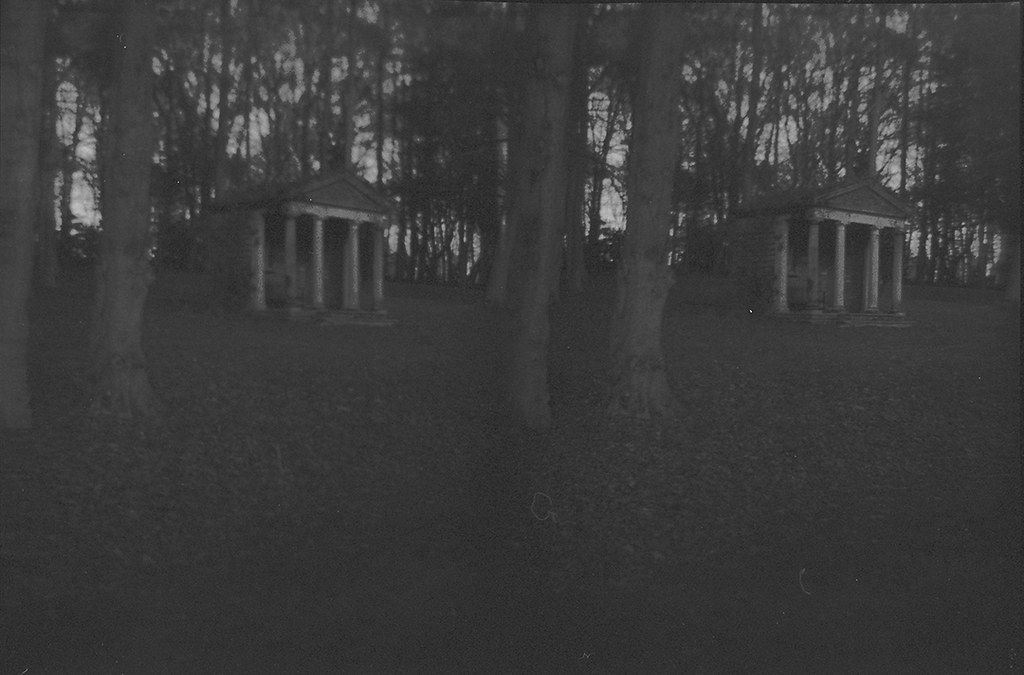
These were taken using Fomapan Creative 200 ASA B&W negative film, home developed in Rodinal 1:25, 20oC, 5 mins, and scanned all at the same settings so there’s no compensation for under-exposure. Notice the slightly out of focus left images compared to the right, but when viewed in stereo, it is usually unnoticable.
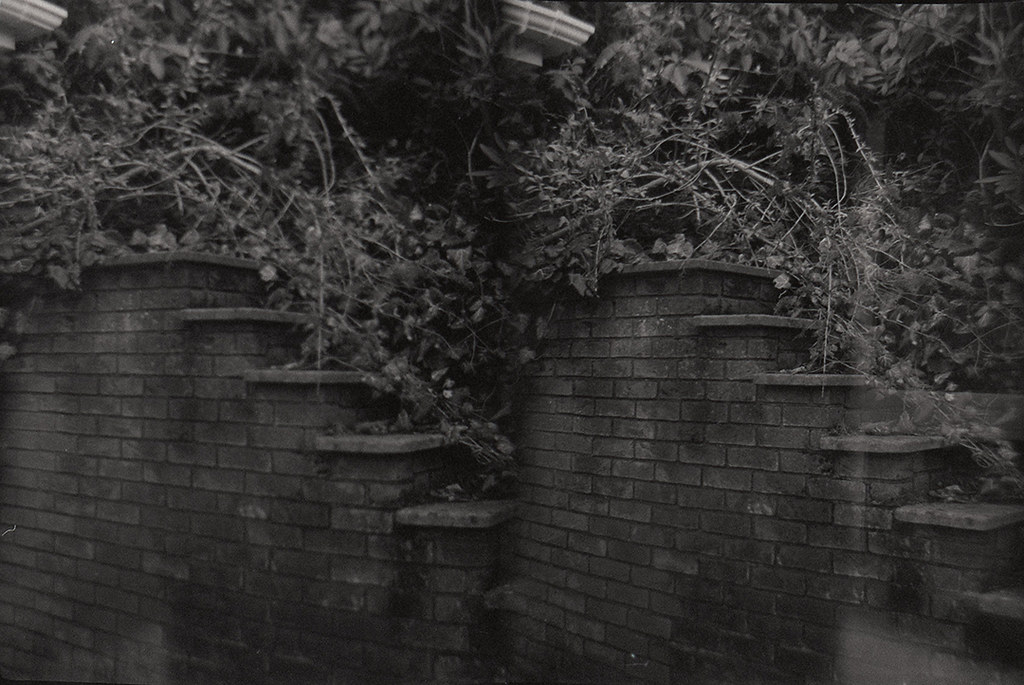
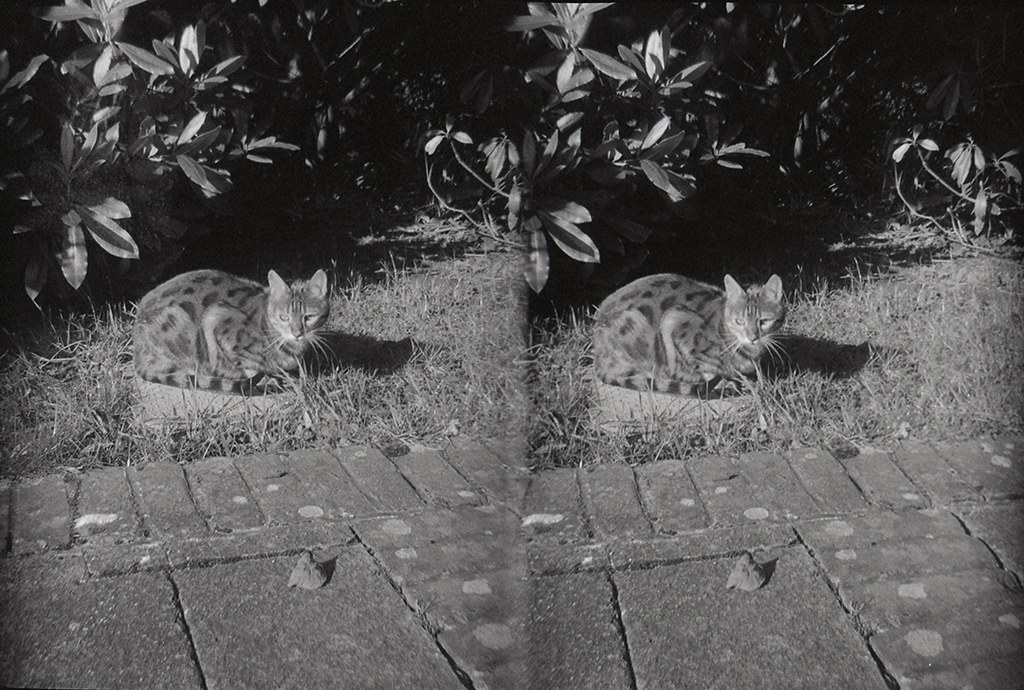
Outdoors in a wood with partial cloud @ 200 ASA:
Outdoors on a partly cloudy day @ 200 ASA:
Outdoors in sunshine @ 200 ASA (notice the reflections!):
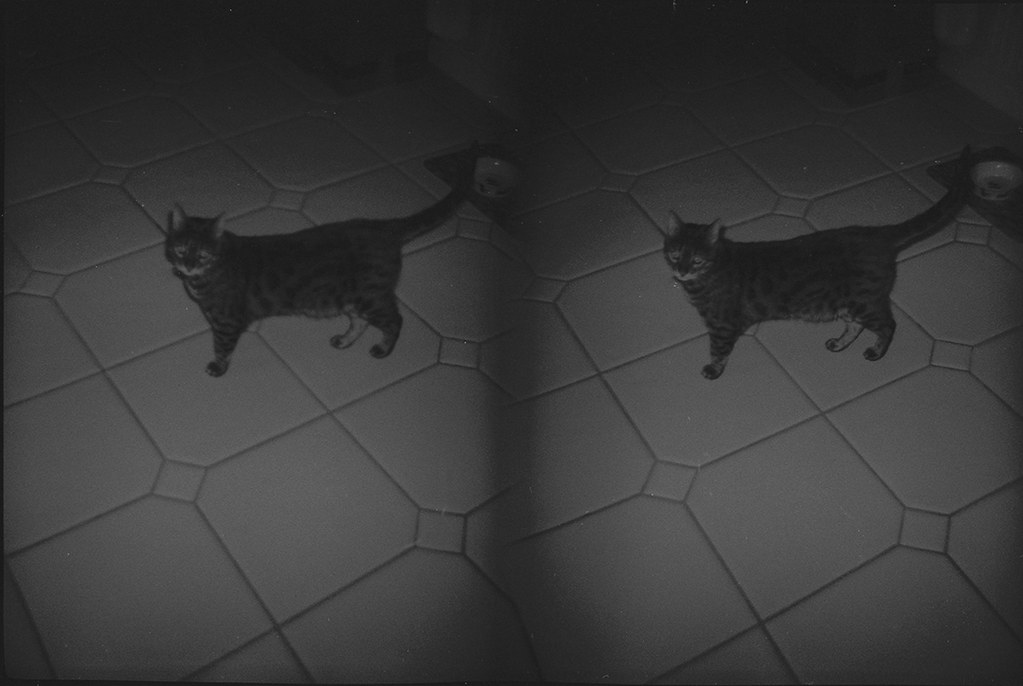
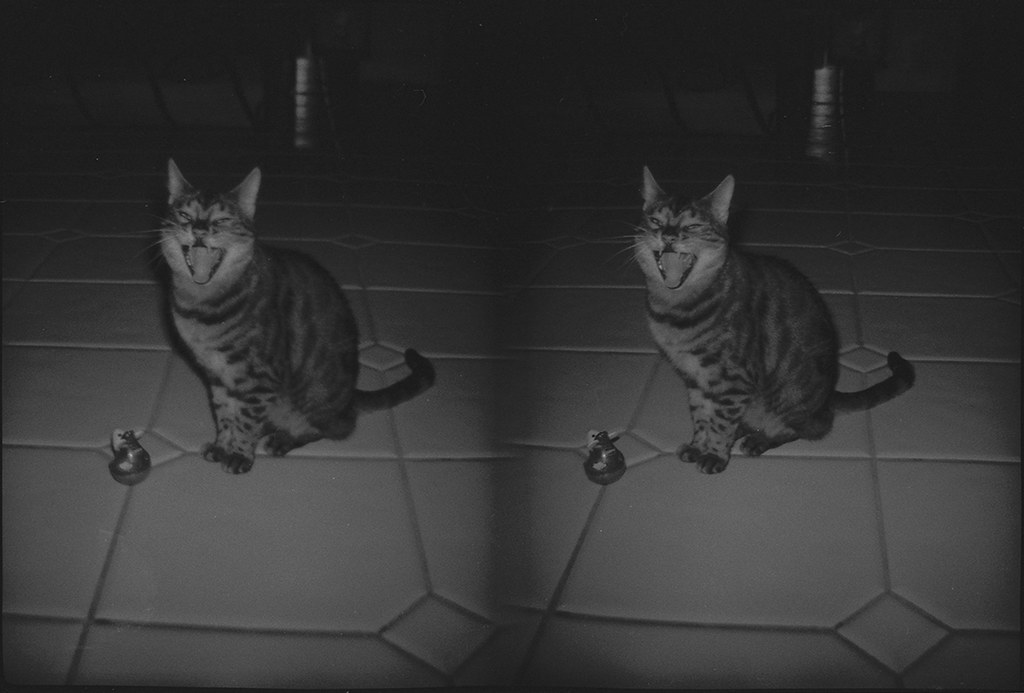
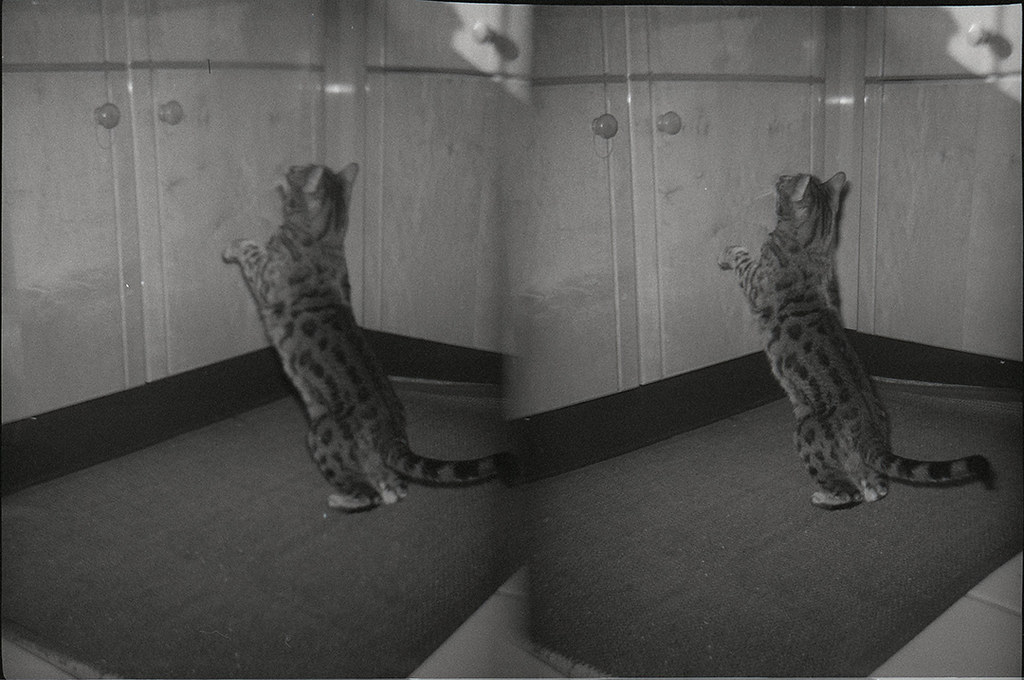
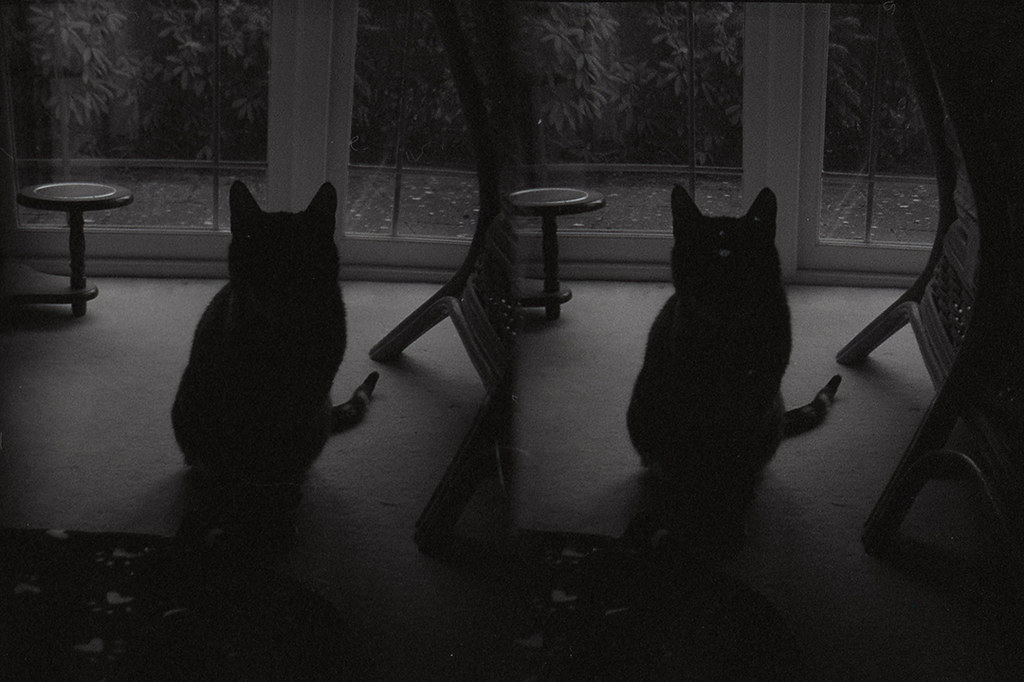
Indoors with flash (without a flash it is just completely under-exposed and black) in artificial light @ 200 ASA. The closer to the subject, the better:

Indoors with flash in the bright daytime @ 200 ASA.
400 ASA Film in Different Conditions.
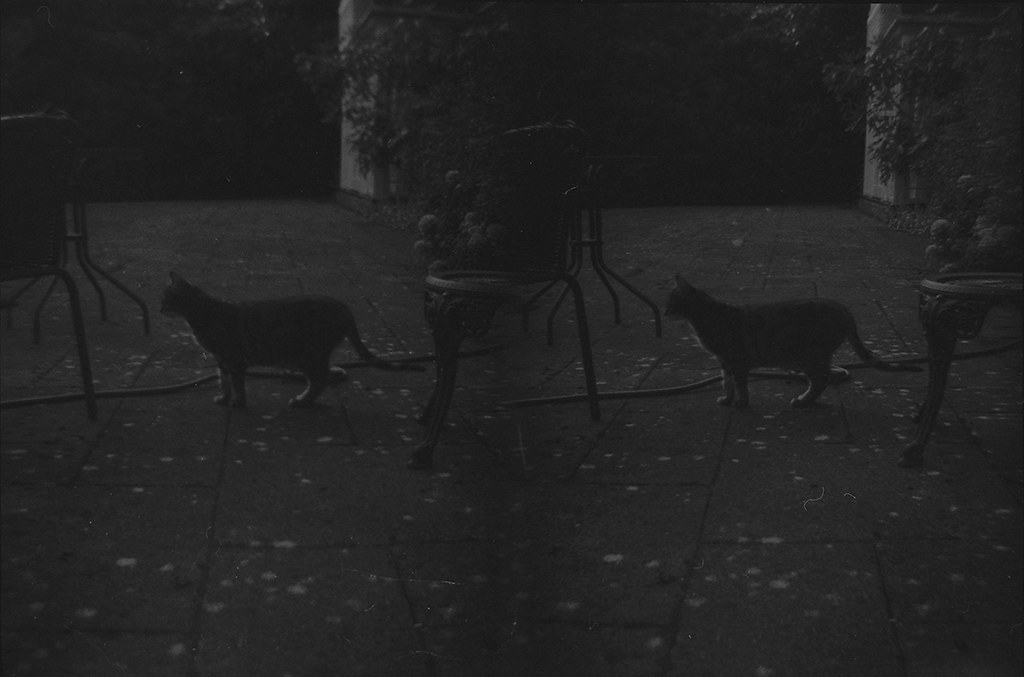
These were taken using Ilford HP5 Plus 400 ASA, home developed in Rodinal 1:25, 20oC, 6 mins, and scanned at the same settings to ensure there’s no compensation for under-exposure.
Outdoors on an overcast and rainy day @ 400 ASA (still managed to get reflections):
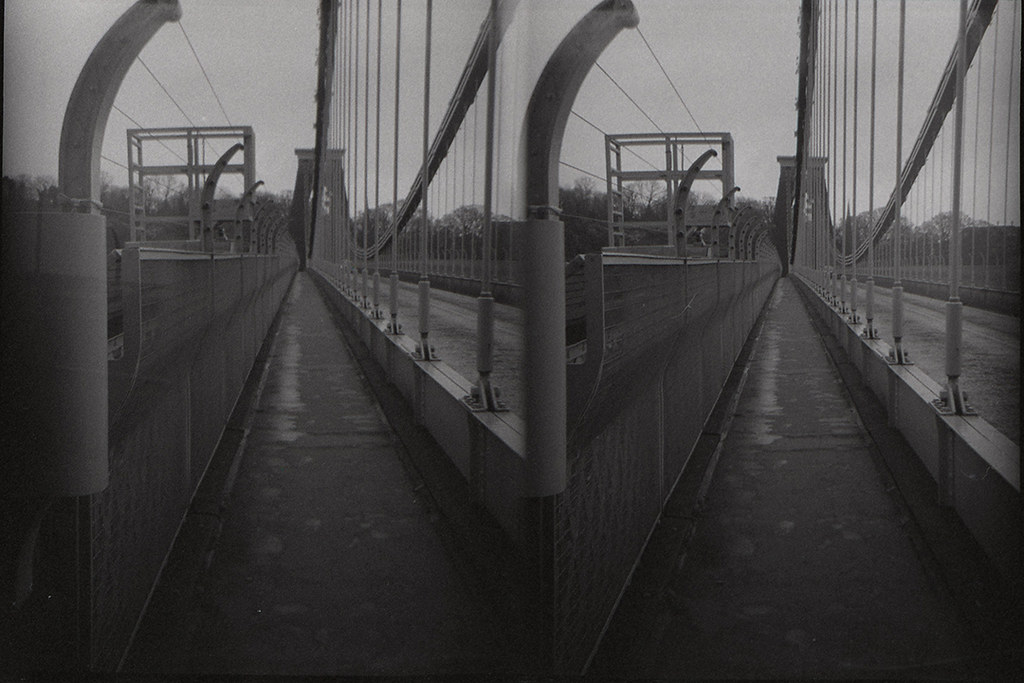
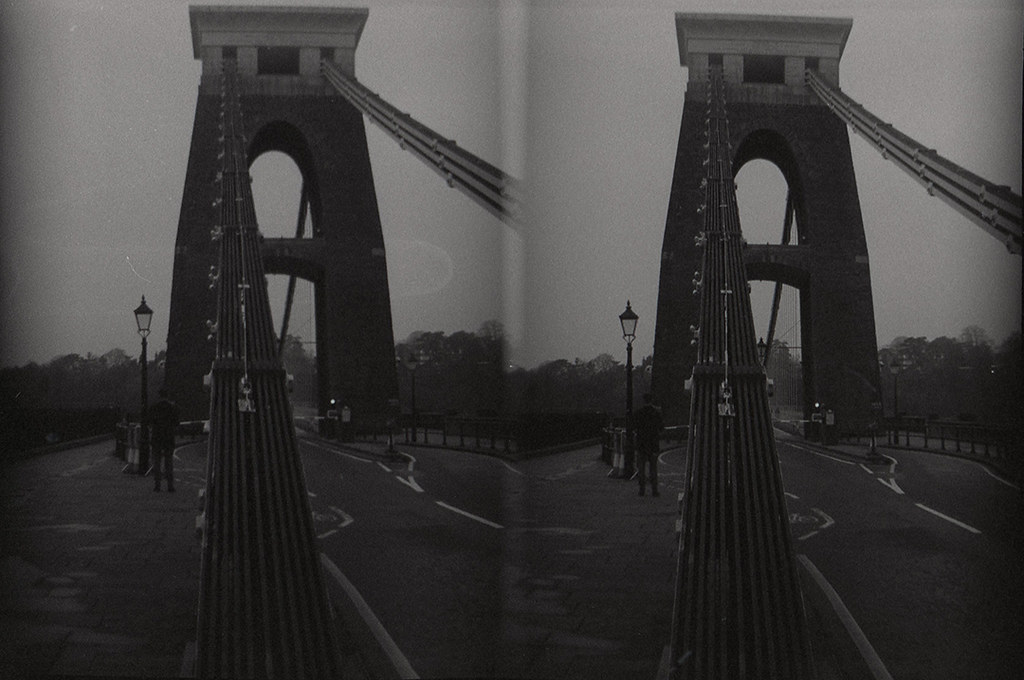

Outdoors with and without cloud on a sunny day @ 400 ASA:
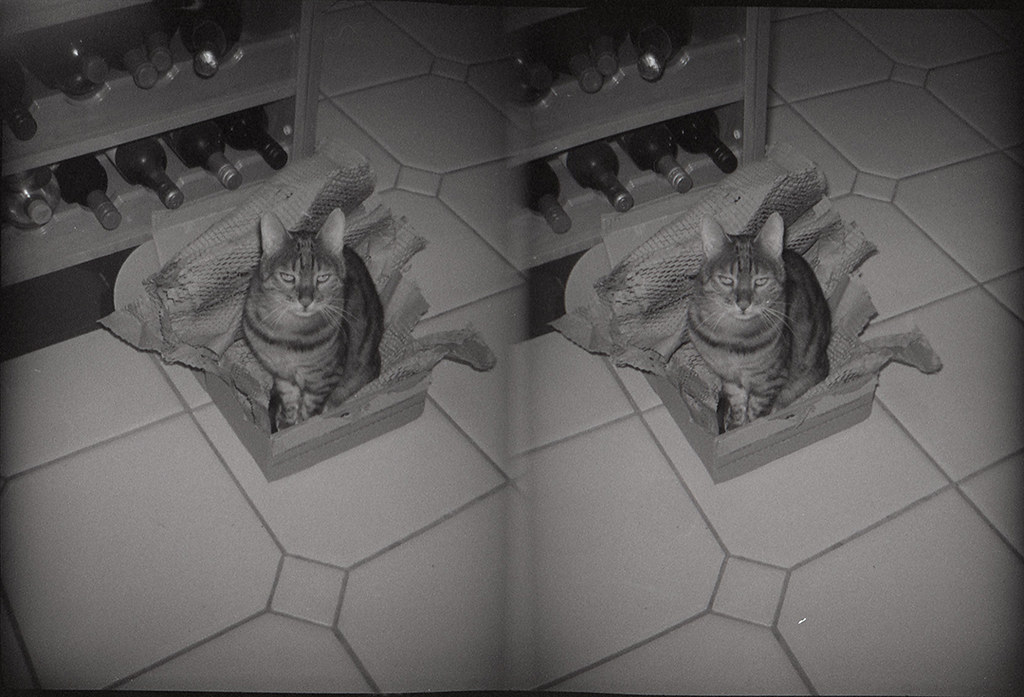
Indoors, in Museum lighting without flash @ 400 ASA:

Indoors on a bright sunny day, without and with flash @ 400 ASA:
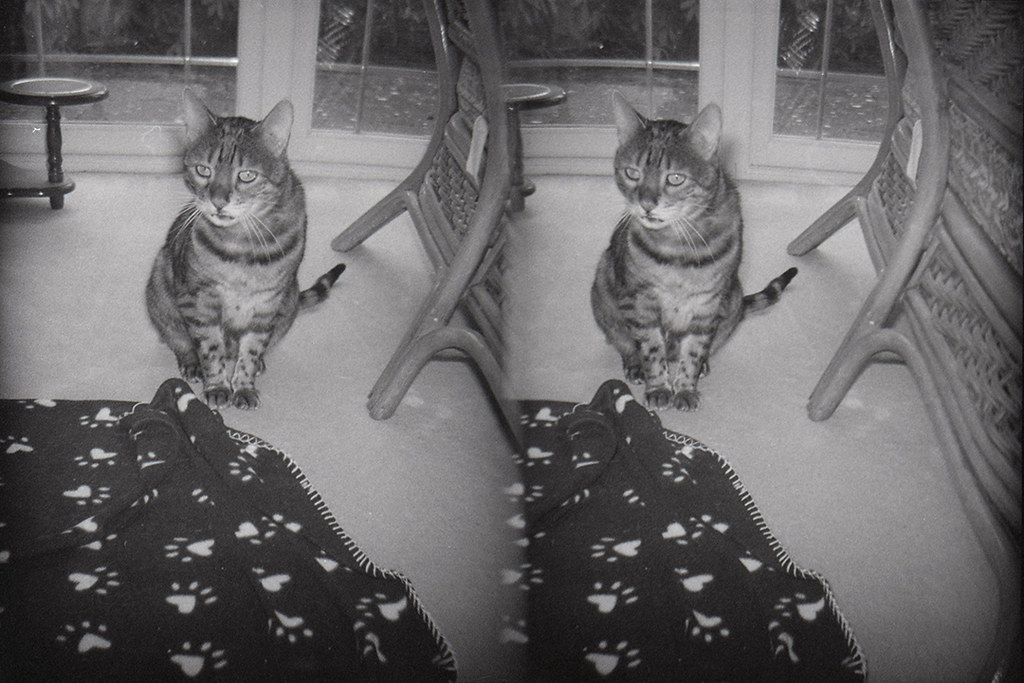
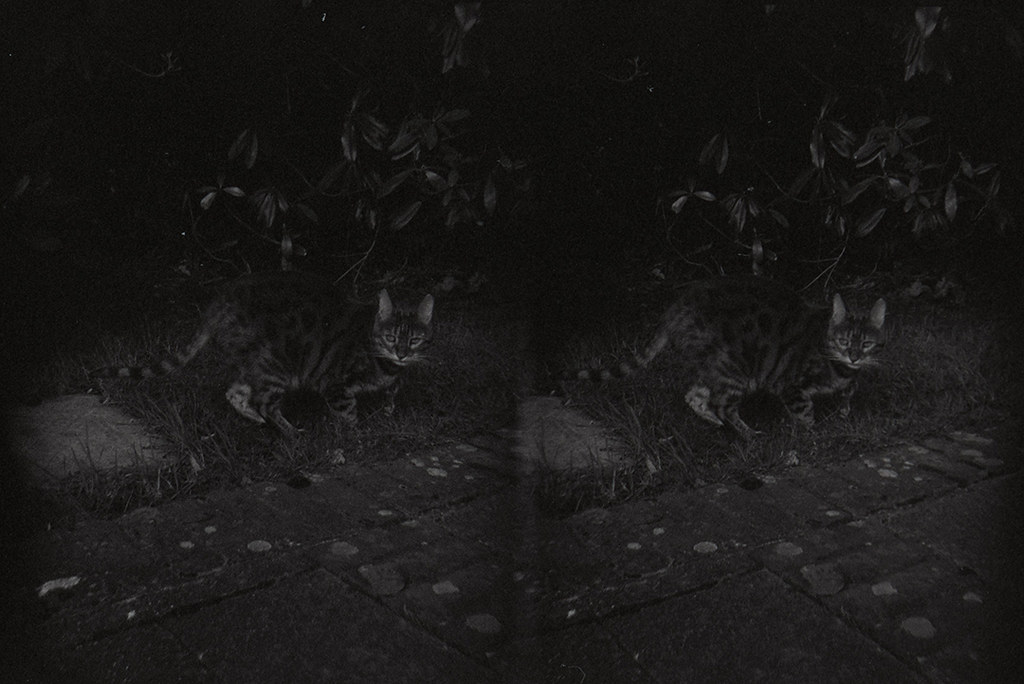
Indoors in artificial light with flash @ 400 ASA:
Conclusion
If you’re looking for a cheap 35mm stereo camera, from which you can directly make prints from the negatives without worrying about the film being cut or transposed, and you just want to use it indoors using a flash with quite close subjects, with at least 400 ASA film, the Loreo 3D Photokit MKII camera could just be the one for you!
It certainly has its limitations with reflections in sunlight and overlapping in the middle, due to the mirrors. The fixed shutter speed of 1/60s and apertures of f/18 in daylight and f/11 with flash, also mean the camera needs quite a bit of light, which can introduce reflections, and/or higher speed film to operate effectively. The ease of use and price, however, may be enough to persuade someone to still give it a try.
Just a word of caution that these cameras were never expensive, and the secondhand prices should reflect that (pun intended). I’ve seen some being sold for hundred of pounds or dollars, especially in the US, and I’d be very surprised if anyone is willing to pay so much.
These cameras were originally made to make prints from 35mm film, and I have to say they do work well in the viewer when you’ve cropped the outer borders out, and the overlap in the middle isn’t too much of a bother on the 3-D effect. You can obviously compensate if you’re scanning the negatives, by digitally adjusting the exposure and cropping out any borders and overlapping. However, in a world where films and developing cost a silly amount right now, and you can just use your phone anyway to make stereos, you have to consider where it’s worth the time and money. I still would because I’m weird and love analogue.
I’d like to express my deep gratitude to my little old kitty for putting up with me pointing random cameras at her again, and being so chilled about the flash. For an indoor 3-D camera taking flash photos of cats who don’t mind, I’d recommend it.

Copyright © The Stereoscopy Blog. All rights reserved.

Hi,
I bought mine in Hong Kong in the 90’s just before they were released to the public, I spotted it behind the counter in a HK camera shop in Kowloon and asked about it. (I would like to think the person behind the counter was Mr Lo as he was very knowledgeable and enthusiastic about it but I have no proof) Personally I got some good results from it on colour print film, I have no idea where those prints are now. Negs are probably in one of many negative folders. I also have the 3d lens in a cap which was less good and I spent a while trying to realign the mirrors to make it work and also their perspective control lens in a cap. I used them on full frame Canon DSLR. http://www.loreo.com/
Cheers
Nigel Richards
LikeLiked by 1 person
And this is the Loreo 3D lens in a cap mounted on a film Canon SLR. It doesn’t have overlapping images but a black bar down the middle which I failed to reduce the thickness of.
Nigel
LikeLiked by 1 person
I too had the Loreo 3d camera but I have lost it somewhere- I still have 2 of the folding viewers and over 150 photos taken with the camera- taken over 5 years,- it is a snapshot of my life over that period
LikeLiked by 1 person
Hi
Thanks for the interesting review. I wonder why exposure is such a problem. According to the sunny sixteen rule on 200 ASA film you should only need 1/200sec at f18 in bright sunliught. So at 1/60th you have approx 2 stops more light which should correspond with an averagely overcast sky. I am just wondering if I am missing something about the way the camera works, do you have any ideas?
Mike Avison
LikeLike